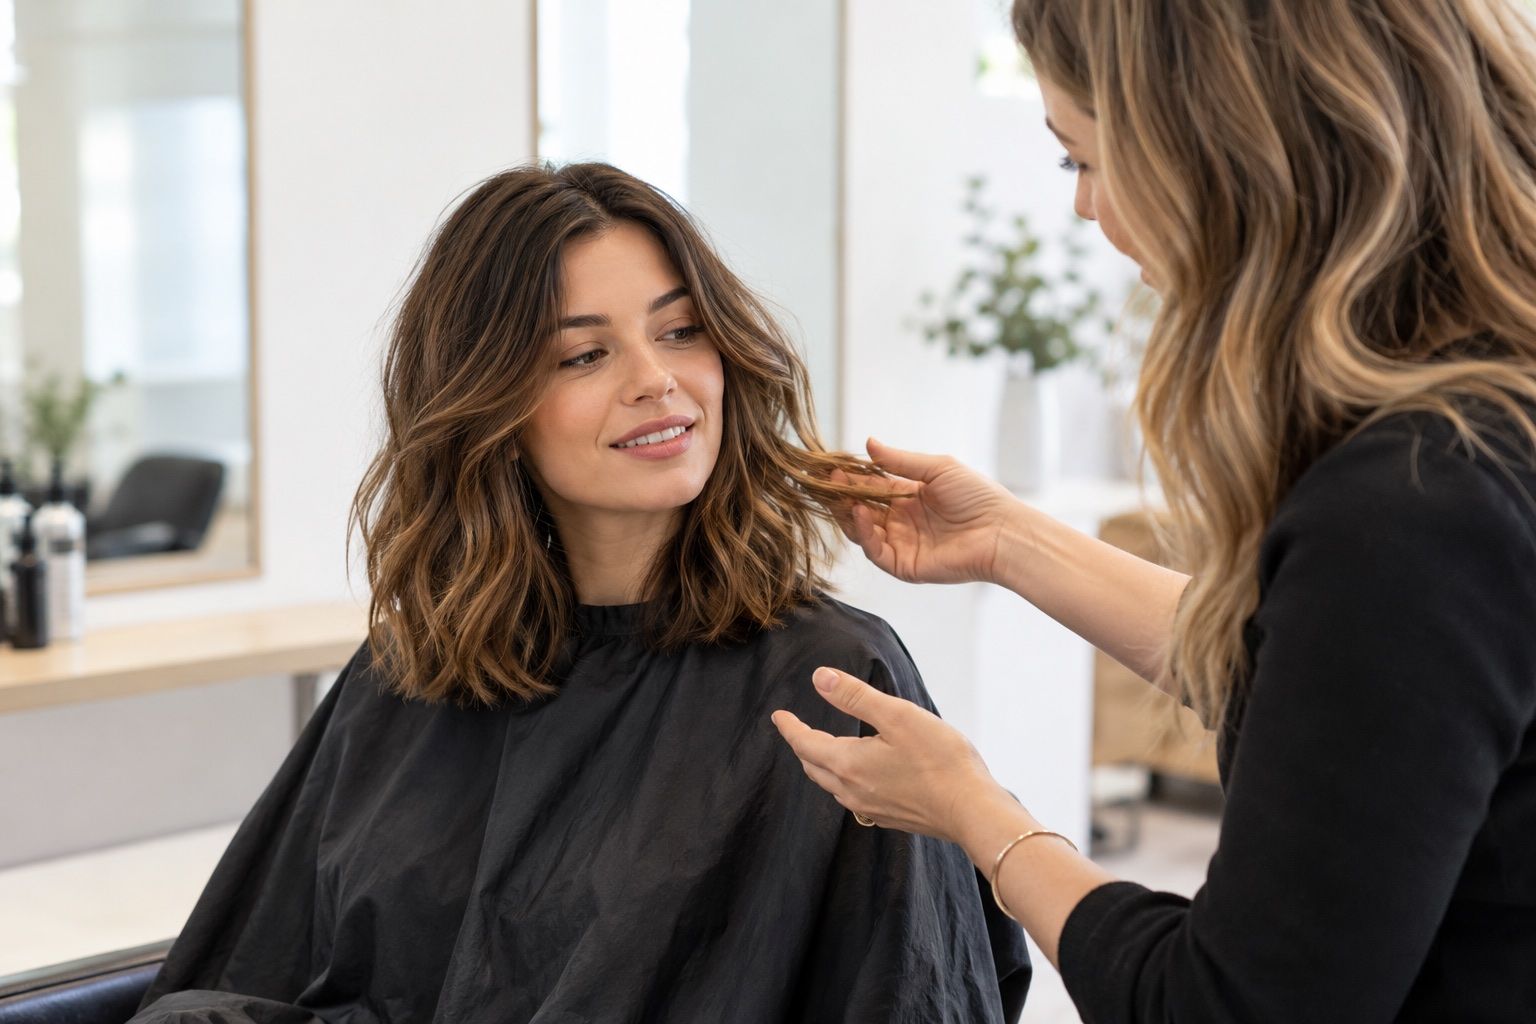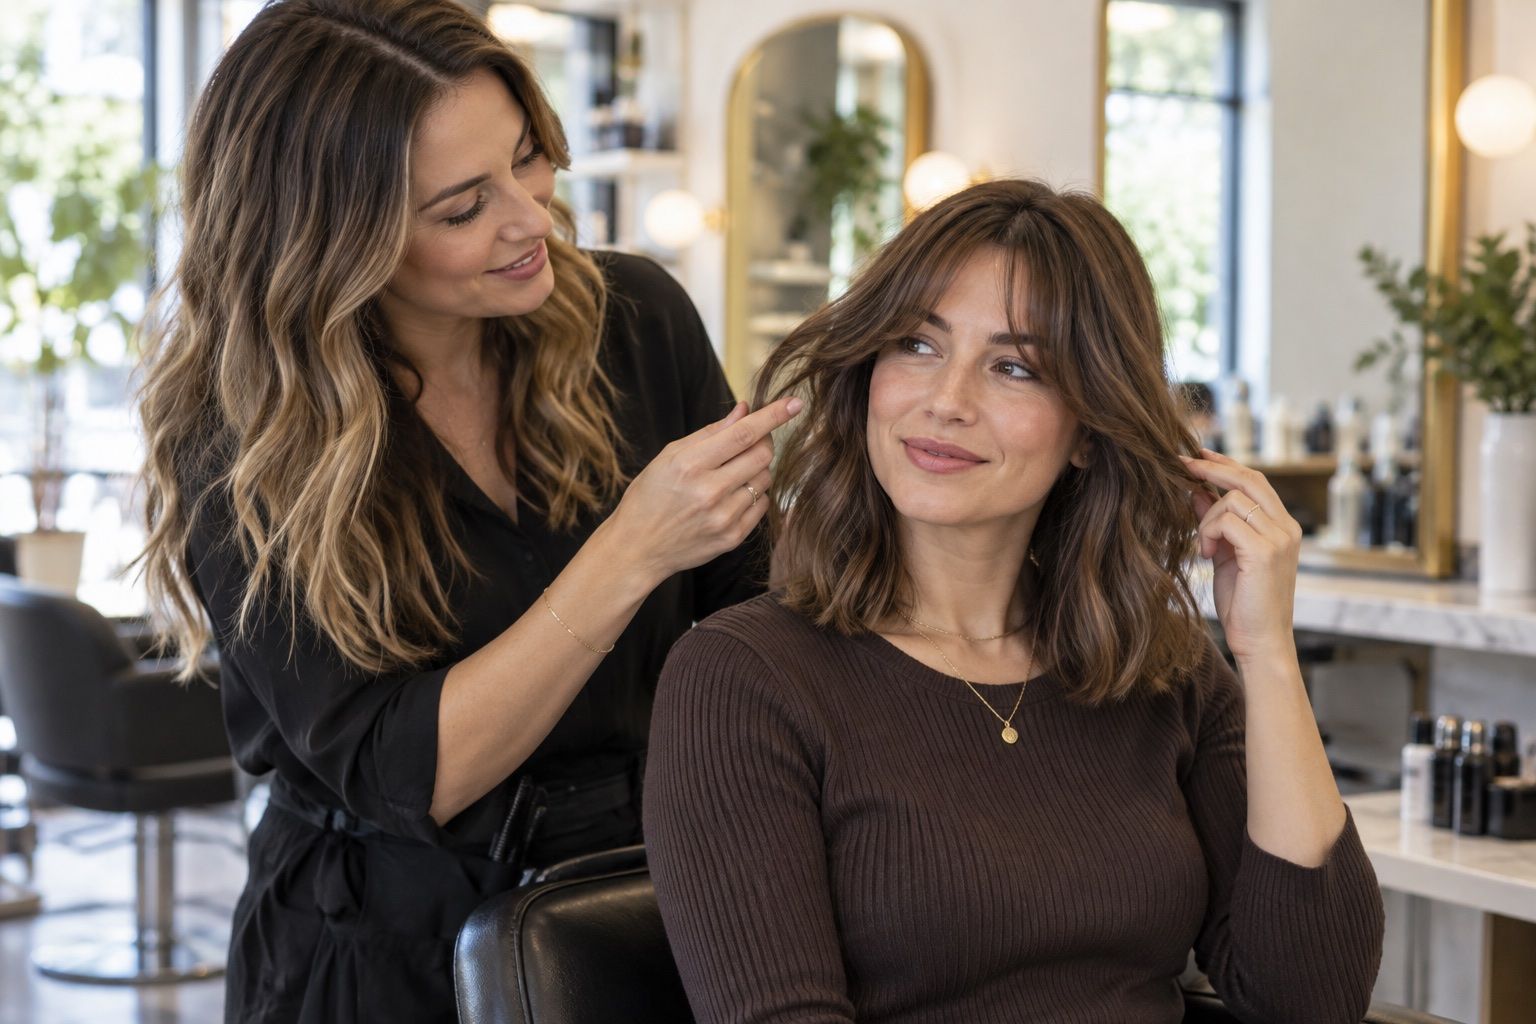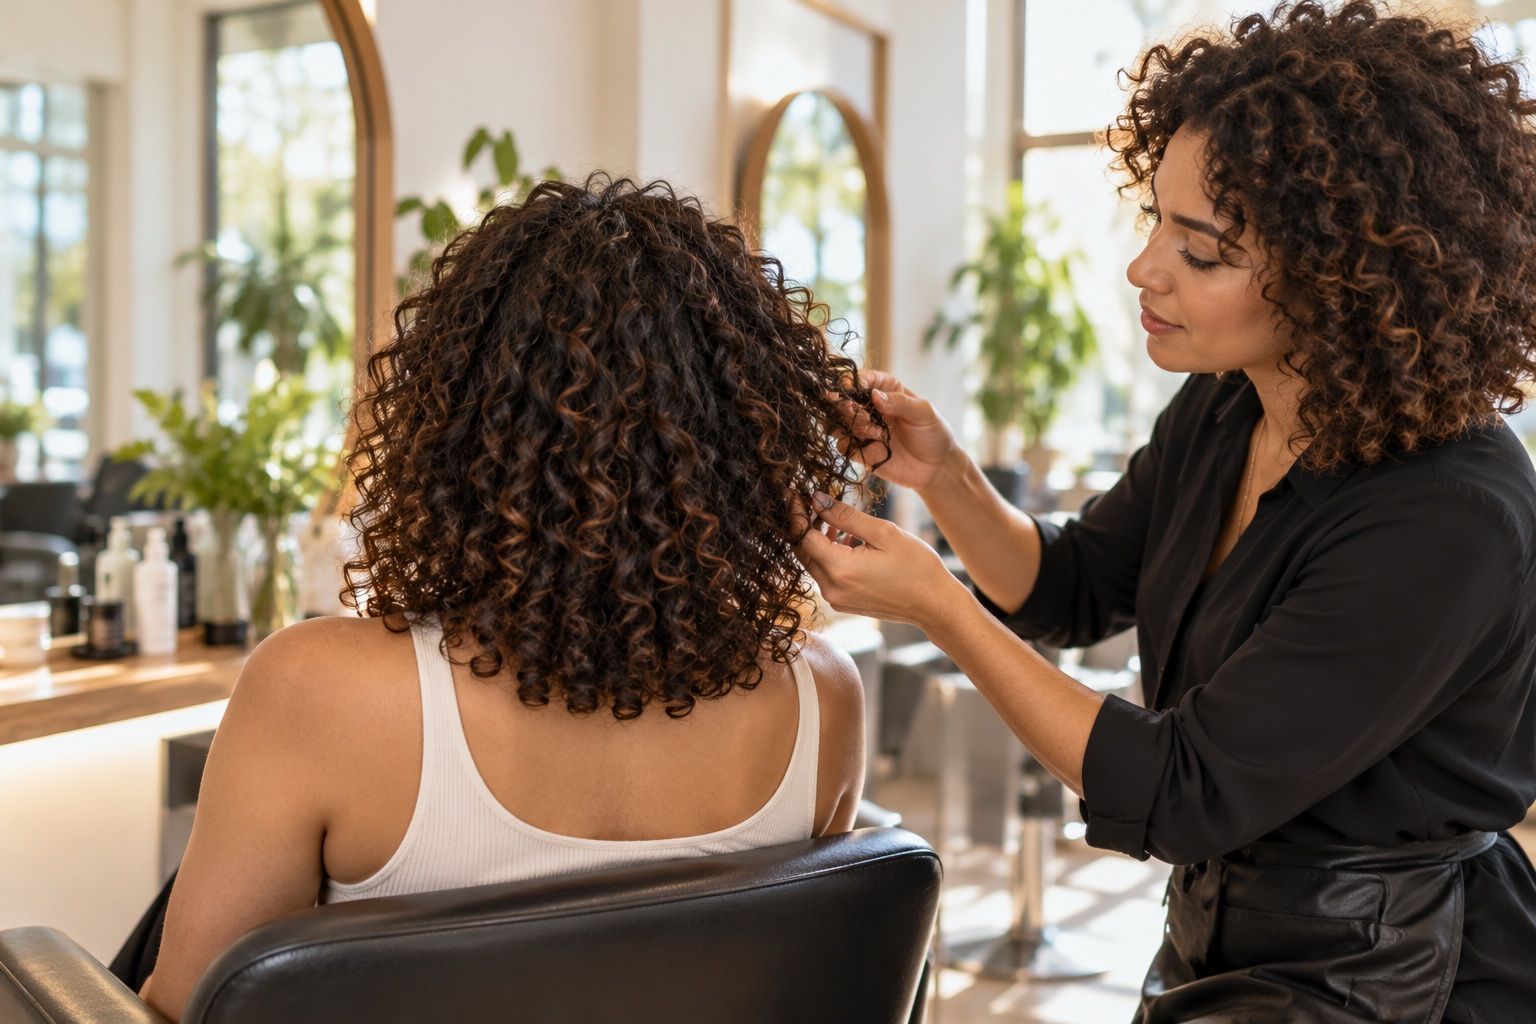
This guide looks at try on hair styles for free: a simple comparison method as a practical comparison, with attention to shape, texture and the choices to discuss before a salon visit.
Set up a fair side-by-side comparison
A free try-on session works best when every style uses the same photograph. Choose a front view in even light that shows your hairline, ears, shoulders and current length. Remove hats and strong filters, and keep the camera near eye level. A consistent image makes it easier to judge whether a fringe, bob or longer outline changes the look in the way you intended.
Decide what you are comparing before you start. For example, keep the part and texture similar while testing two lengths. Then make a separate comparison for fringe or layers. If the options change several features at once, you may like the overall image without knowing which part of the cut appeals to you. A narrow question makes the results easier to explain later.
Use a shortlist instead of a gallery
Select two or three options close to your current decision. A short list creates useful contrast while leaving enough attention to inspect each image. Save each version with a descriptive label and keep the original photograph nearby. This helps you return to the same baseline if the tool resets or the session does not save its settings.
A large gallery can make every style feel equally available, but it may not reflect your hair texture, density or routine. Treat the catalogue as a source of possibilities rather than a set of recommendations. If a style attracts you, find a real example with a similar cut and texture before assuming that a screen overlay will predict its result on your head.
Inspect the outline at normal size
Look first at the image at ordinary viewing distance. Notice where the ends fall relative to the jaw, collar and shoulders, and whether the width around the cheeks feels intentional. These landmarks are often more helpful than tiny rendered strands. If the overall outline does not match the change you had in mind, zooming in on the hair texture will not resolve the main difference.
Then inspect the hairline, temples, ears and nape. Overlays can leave hard edges or place hair where your natural growth pattern would not support it. A fringe may seem to begin too high or a short cut may hide the true hairline. These irregularities tell you how much to trust the composite; they are not instructions about what your real hair will do.
Separate a cut from its styling
A preview usually shows a finished shape, while a haircut is only one part of that result. A smooth blowout, curled ends, lifted roots or a sharply defined part may require time and tools. Ask yourself whether you want the cut itself or the styled finish. A layered shape can look airy in a polished image but less defined when air-dried.
Compare the option with your ordinary routine, not only with a special-occasion photograph. If you regularly tie your hair back, test whether the proposed length and fringe would still work. If you avoid heat styling, look for examples worn in a similar natural state. The salon conversation should include how the cut behaves on an average day, not just how it photographs immediately after styling.
Make texture part of the decision
The same length can look different on straight, wavy, curly and coily hair. Curl pattern may shorten the visible length as it dries, and density affects how much a layered outline expands. A virtual try-on that smooths texture may still help you compare approximate length, but it should not be treated as a realistic preview of volume or movement.
Write down how your hair usually behaves after washing and how much styling you are willing to do. Bring a real photo of your texture if the virtual image changes it substantially. Ask a stylist how the cut would sit when air-dried and whether the suggested shape needs thinning, weight removal or special products. Those answers will be more specific than the app’s generic label.
Save a note with the image
Use an image caption or phone note to state what you like and what should remain different. “I like the soft shape below the jaw; keep the sides long enough to tuck and work with my wave pattern” explains a goal. It does not ask a stylist to reproduce an overlay pixel for pixel.
If the tool has only a front view, add a reference showing the back or side. Mention whether you want a blunt perimeter, gentle layers or movement around the face. A stylist can then connect those details to your present length and explain any trade-offs. Clear notes make a small number of references more useful than a large collection of unexplained screenshots.
Know when to stop comparing
After a few options, take a break and review them later. Repeated quick changes can make temporary novelty feel like preference. Ask which shape still seems appealing after the first reaction fades and what practical reason supports it. If none feels right, adjust one feature or switch to real haircut examples rather than opening an endless sequence of unrelated presets.
A preview has done its job when you know what to ask next. You might want to discuss length, fringe, styling time, or how the cut grows out. If an app does not improve that conversation, you can still make a good choice through consultation and reference photos. The decision belongs to you, and the tool’s result does not need to be a perfect likeness.
Review the result away from the editing screen
A style can feel exciting while you are changing it and less appealing later. Save a few options, step away, and compare them after a pause. Look at the outline first, then the details. If an option still feels right, write down the feature that matters most so you can describe it without depending on the image.
Do not keep adding variations just to reach certainty. Haircut decisions involve subjective preferences and practical trade-offs that a screen cannot resolve. When you understand the options and the questions to ask, a stylist can help with the parts that require seeing and handling your hair in person.