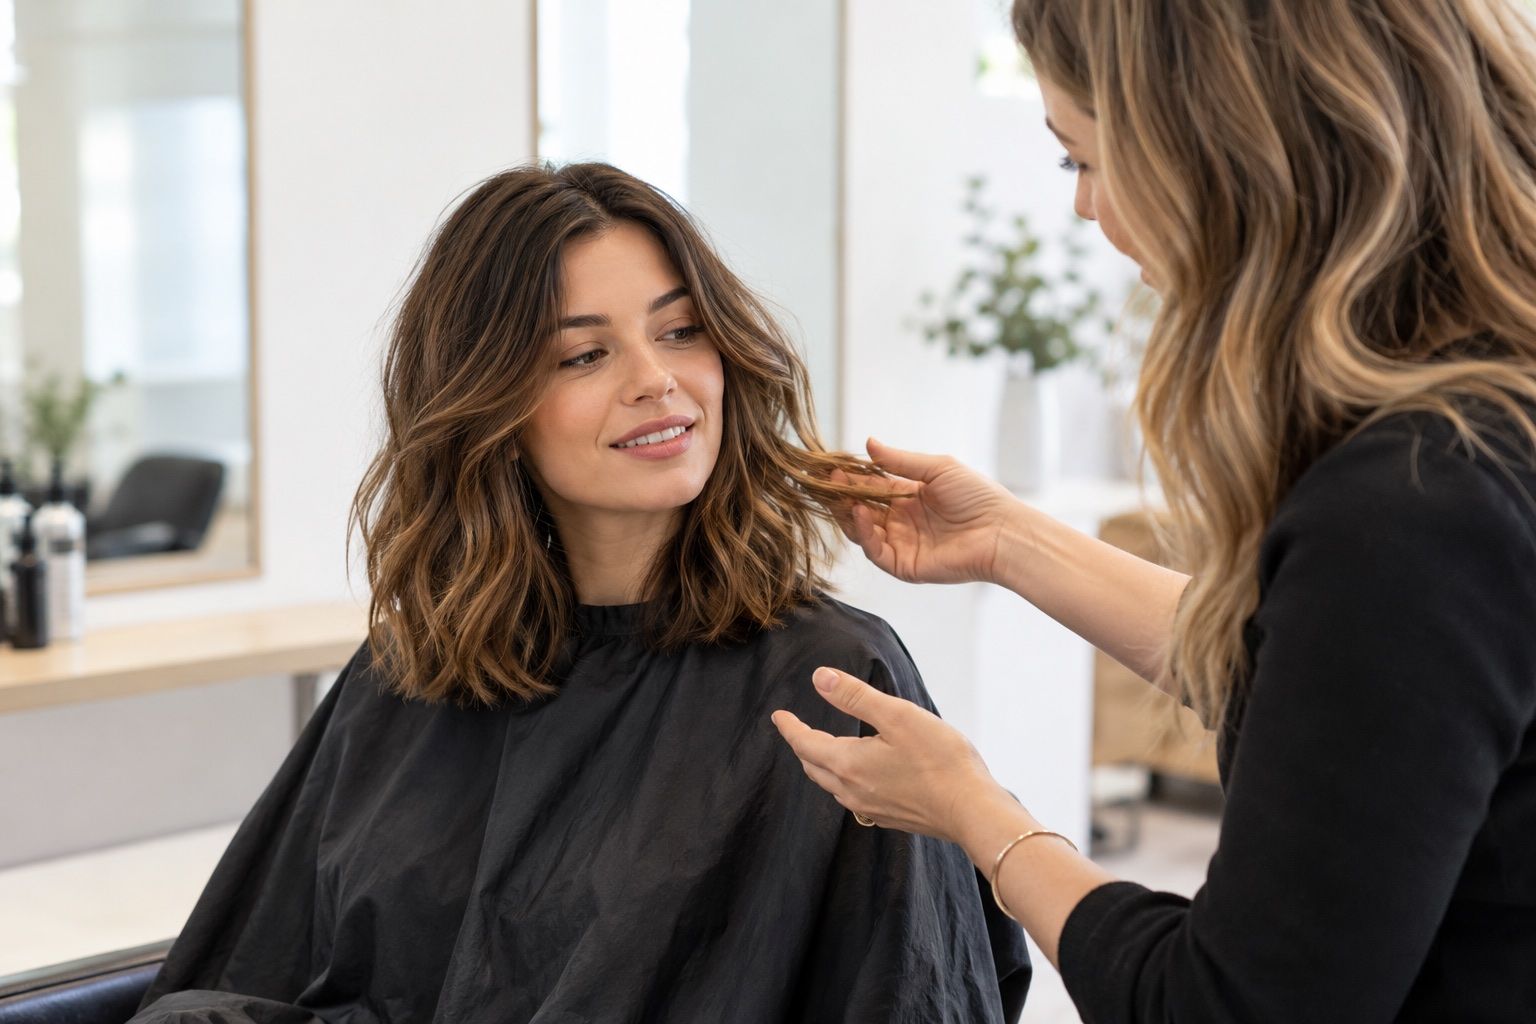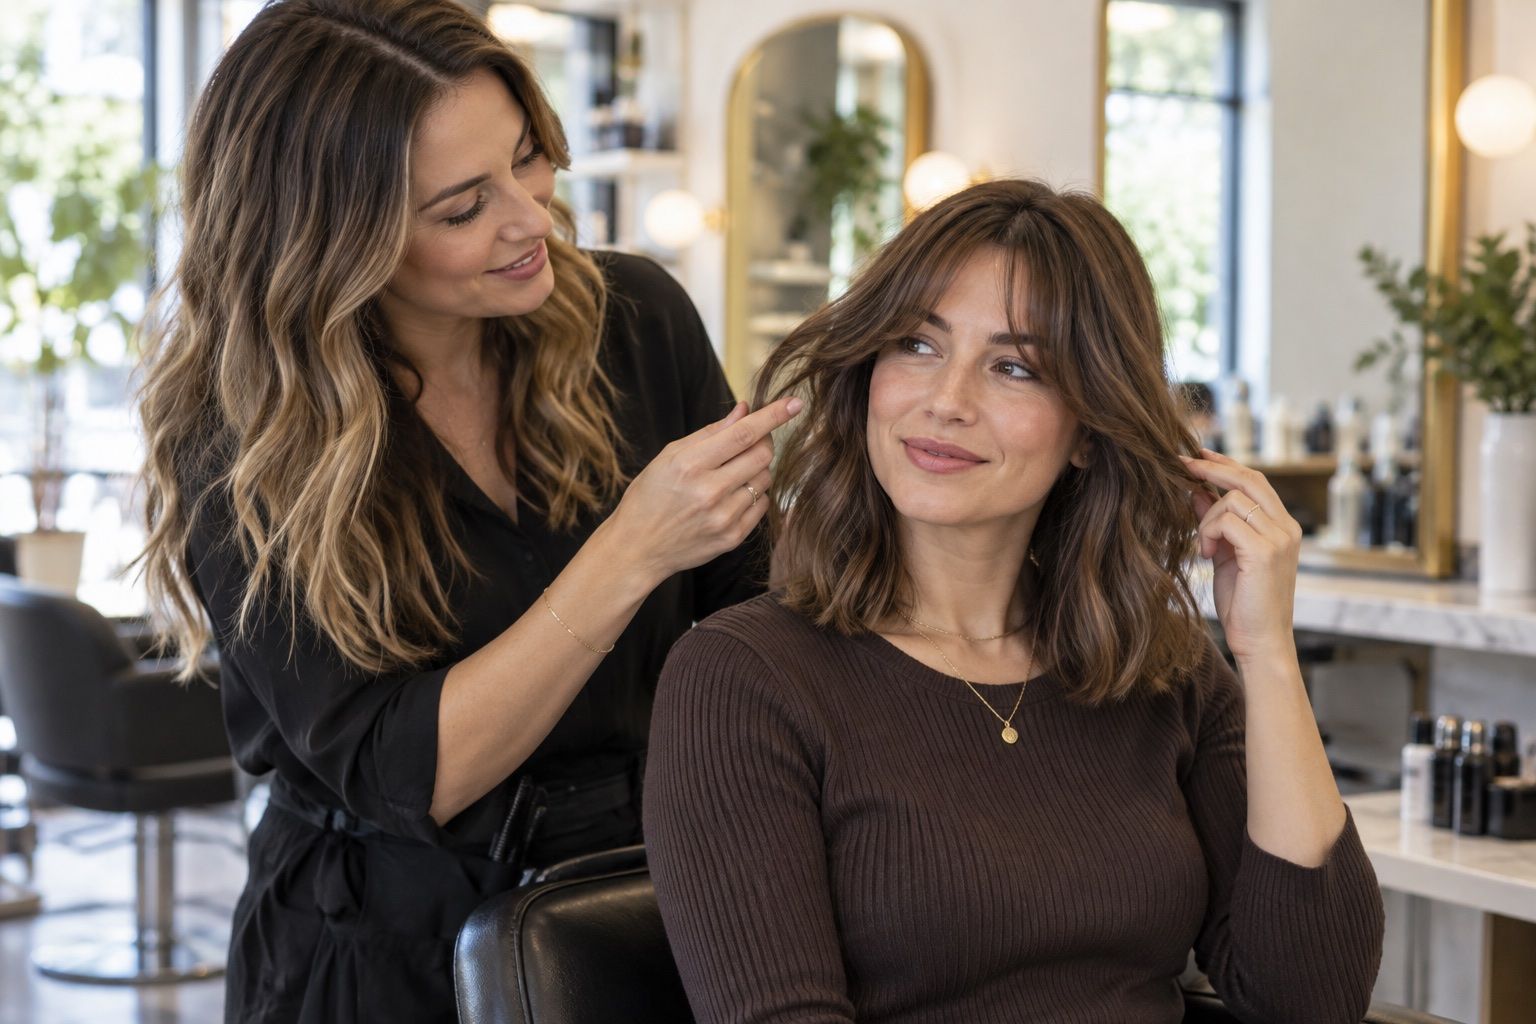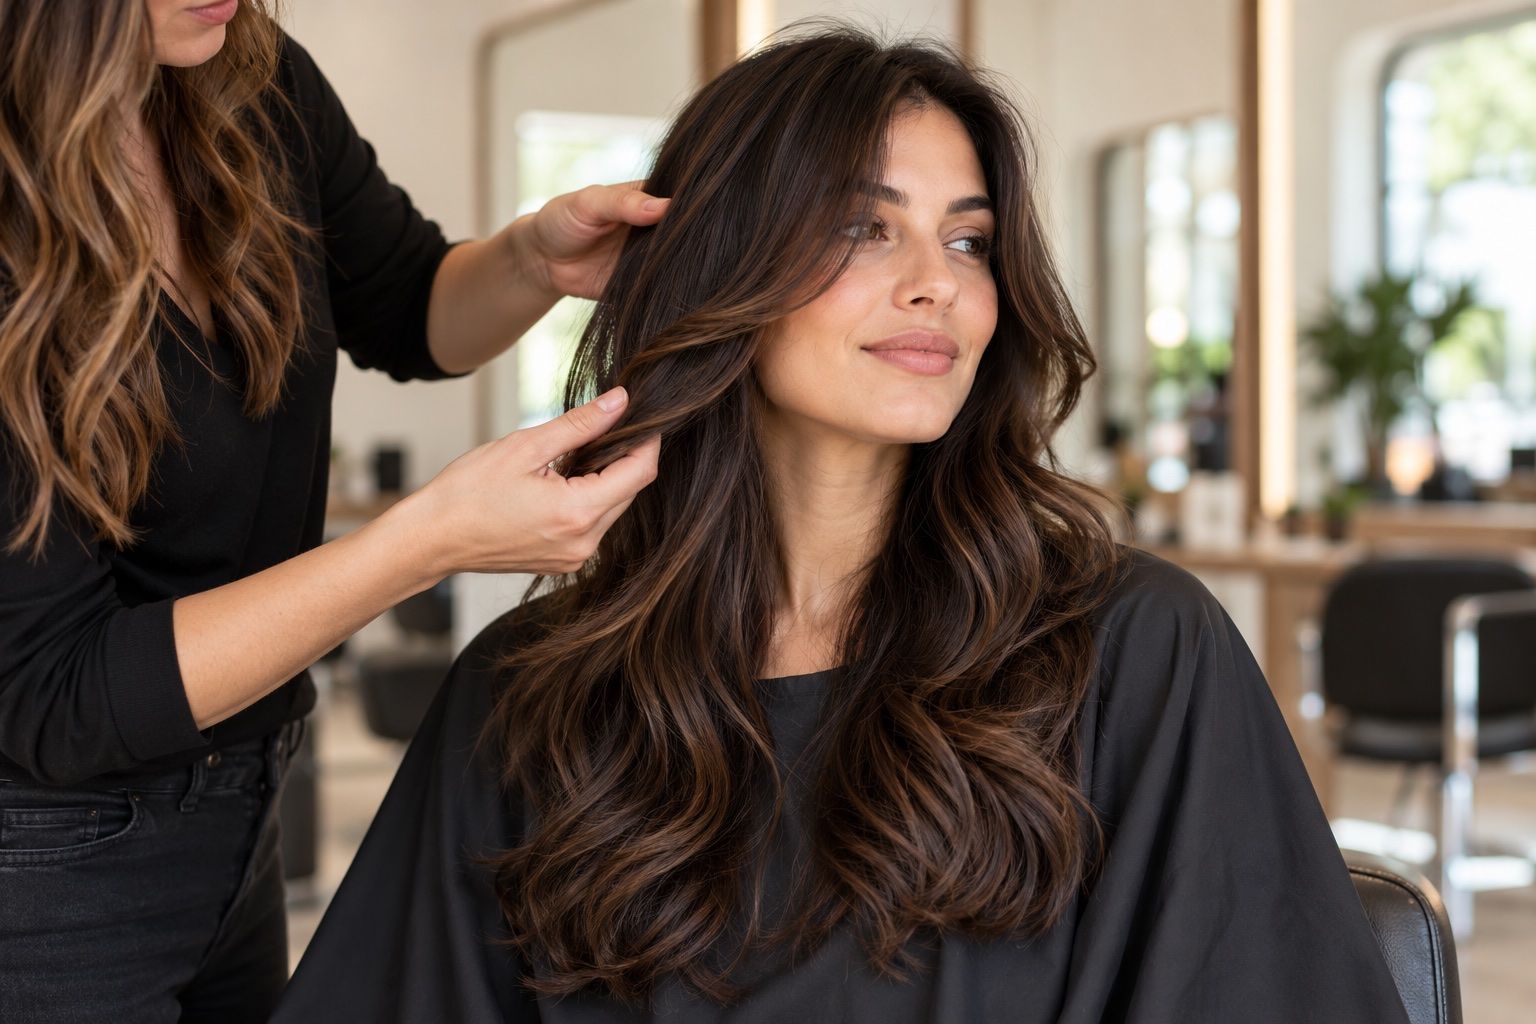
This guide looks at what to check in a layered haircut preview as a practical comparison, with attention to shape, texture and the choices to discuss before a salon visit.
Decide which layers you want to see
Layers can add movement, frame the face, reduce weight or change how the ends sit. A preview may use the same label for very different shapes. Decide whether you want shorter pieces near the face, long internal layers, a more textured perimeter or visible movement throughout. A concrete feature gives you something to inspect in the overlay and discuss at a salon.
Compare a layered option with a similar one that keeps the perimeter more even. Keep length and part constant so the effect of the layers is easier to see. If the preview changes volume or texture at the same time, note those differences separately. This prevents a style name from obscuring the real choice you are making.
Inspect where the shortest pieces fall
Look at the face-framing sections and their starting point. Short pieces near the cheekbones create a different effect from layers that begin near the jaw or collarbone. Check whether the shortest strand in the preview would fall where you expect when your hair is dry and styled. Curly or wavy hair may spring up, changing that position.
Ask whether the layers connect smoothly to the rest of the cut and whether they can be tucked or tied back. A still image may show a face-framing piece in place but not how it moves during the day. If you want versatility, explain how you wear your hair and where the front sections need to reach.
Consider texture and density
Layering changes how weight is distributed, and the right amount depends on your hair. Dense hair may feel heavy in one area, while fine hair may need the perimeter preserved to keep its outline. Curly hair can expand as layers are released; straight hair may show each step more clearly. A virtual preview cannot assess these details from appearance alone.
Bring a recent photo of your hair in its ordinary state and describe how it behaves after washing. Ask what technique the stylist would use and how the finished shape differs from the overlay. Avoid assuming that more layers always mean more volume or that fewer layers always mean fuller ends. The result depends on placement, length and your natural texture.
Understand the styling behind the image
A layered preview may show lifted roots, curled ends or separated pieces that require styling. Decide whether you want the cut itself or the polished finish. Ask how the layers look when air-dried and what tools or products are needed to recreate the image. If the routine feels too involved, consider a softer shape that provides movement with less daily work.
Some layers are visible only when the hair is styled; others change the outline even at rest. A stylist can explain the difference and show reference photos. Mention whether you use heat and how much time you want to spend arranging the front. A realistic plan should fit the routine you will follow rather than the styling in a single preview.
Check how layers grow out
Shorter face-framing pieces may need time to catch up if you later want one-length hair. Long layers can be easier to transition but may still change the shape as they grow. Ask how the cut evolves between appointments and what maintenance is needed to keep the intended movement.
If you are uncertain, start with longer or more subtle layers and revisit the shape later. This gives you a chance to see how the cut behaves before removing more length. Discuss the trade-off with a stylist rather than relying on a preview to predict the grow-out. Your preference for flexibility is part of planning the haircut.
Use more than a front image
A front view shows face framing but may hide the back layers and overall balance. Bring a side or rear reference if the crown, nape or perimeter matters. Make clear which detail you want from each photo. A stylist can then translate the examples into one cut instead of trying to copy several unrelated shapes at once.
Take a photo of your own hair from the side if it helps show current length and density. Avoid assuming the preview’s unseen areas match the front. Ask what the shape will look like when you turn your head or tie it back. That discussion fills the gaps that a frontal overlay cannot show.
Describe the result in plain terms
Instead of asking only for “layers,” name their position and purpose: long layers to remove some weight, soft pieces around the face, or a subtle change that keeps the ends looking even. Explain what you want to avoid, such as very short crown pieces or a fringe that falls into your eyes. Specific language lets the stylist ask better follow-up questions.
Use the preview to point out the outline you like, then mention any parts that look unrealistic on your hair. A digital image may overstate volume or smooth texture. Your explanation should give the stylist room to adapt the shape while retaining the details that made you choose the reference.
Check how you wear your hair up
Layers can change how pieces fall when hair is tied back. Shorter face-framing sections may escape a ponytail or bun, while longer layers can blend more easily. If you often wear your hair up, test the preview with that routine in mind and tell the stylist how much front length you want to retain.
Ask whether the layers can be positioned to keep the shape manageable when secured. A front-facing image does not show loose pieces from the side or back. Ask which areas will remain short and whether pins or clips are likely to be useful. A front-facing preview cannot show exactly how loose pieces will fall when you turn your head or gather your hair at the crown. If you wear your hair up often, the stylist can leave more length in the sections that need to stay secured.
If you are concerned about losing length, ask to see how the shortest pieces will connect to the overall shape before agreeing to them. A stylist can explain where layers begin and how much movement they add. Naming the boundary you are comfortable with helps preserve your priorities while still exploring the visual effect.