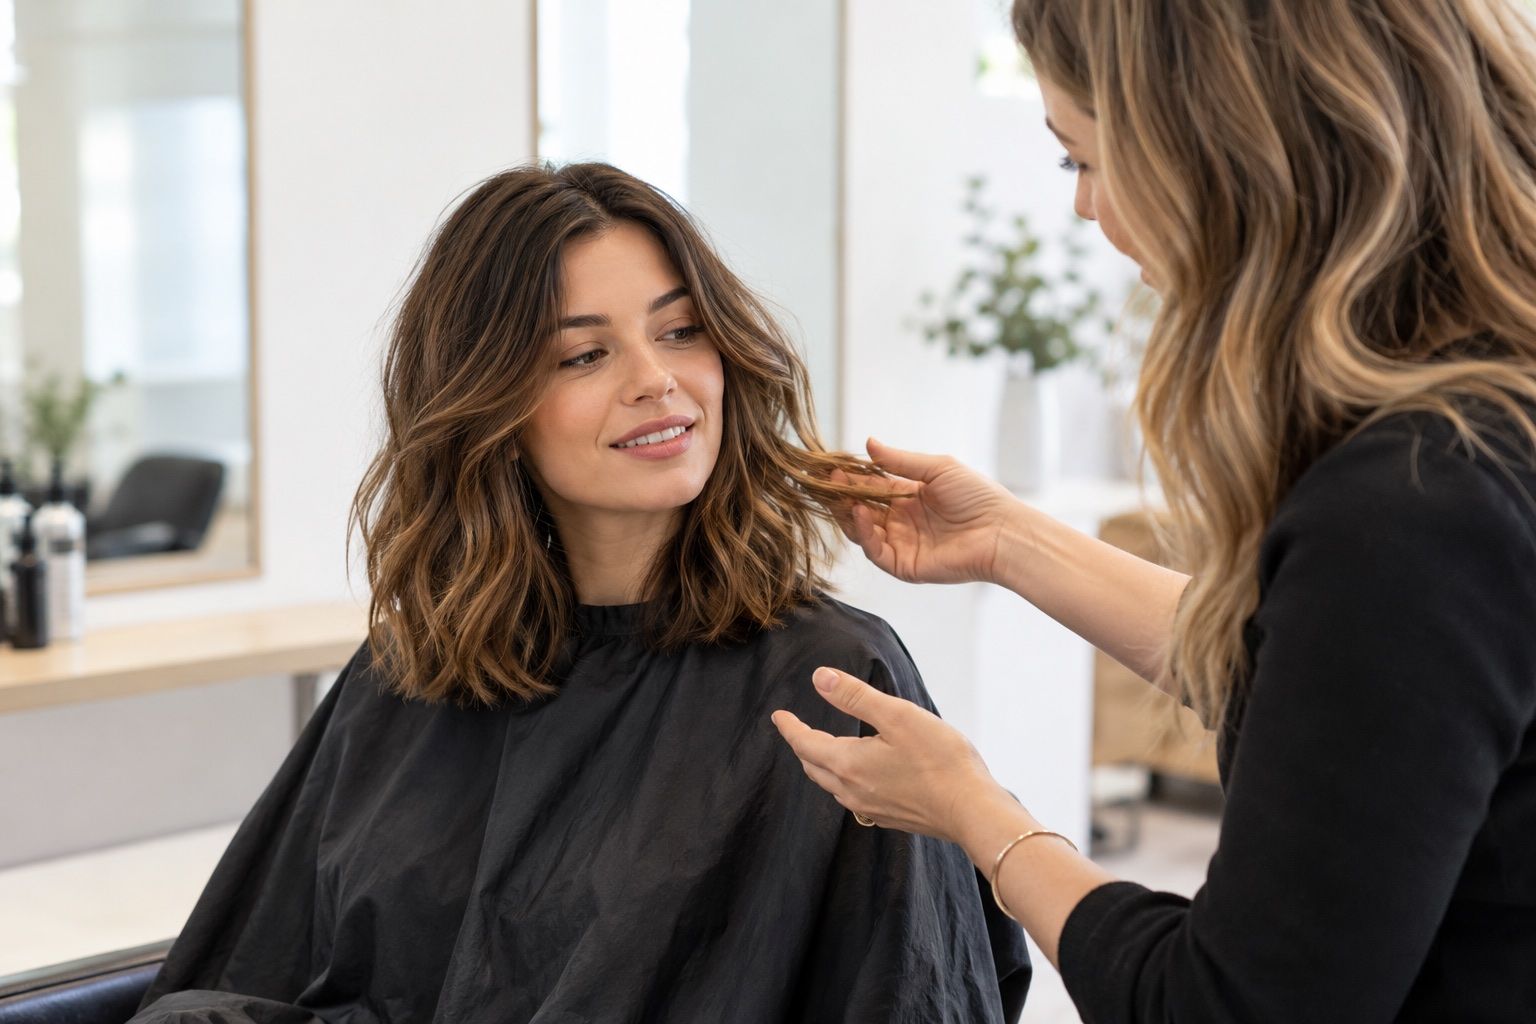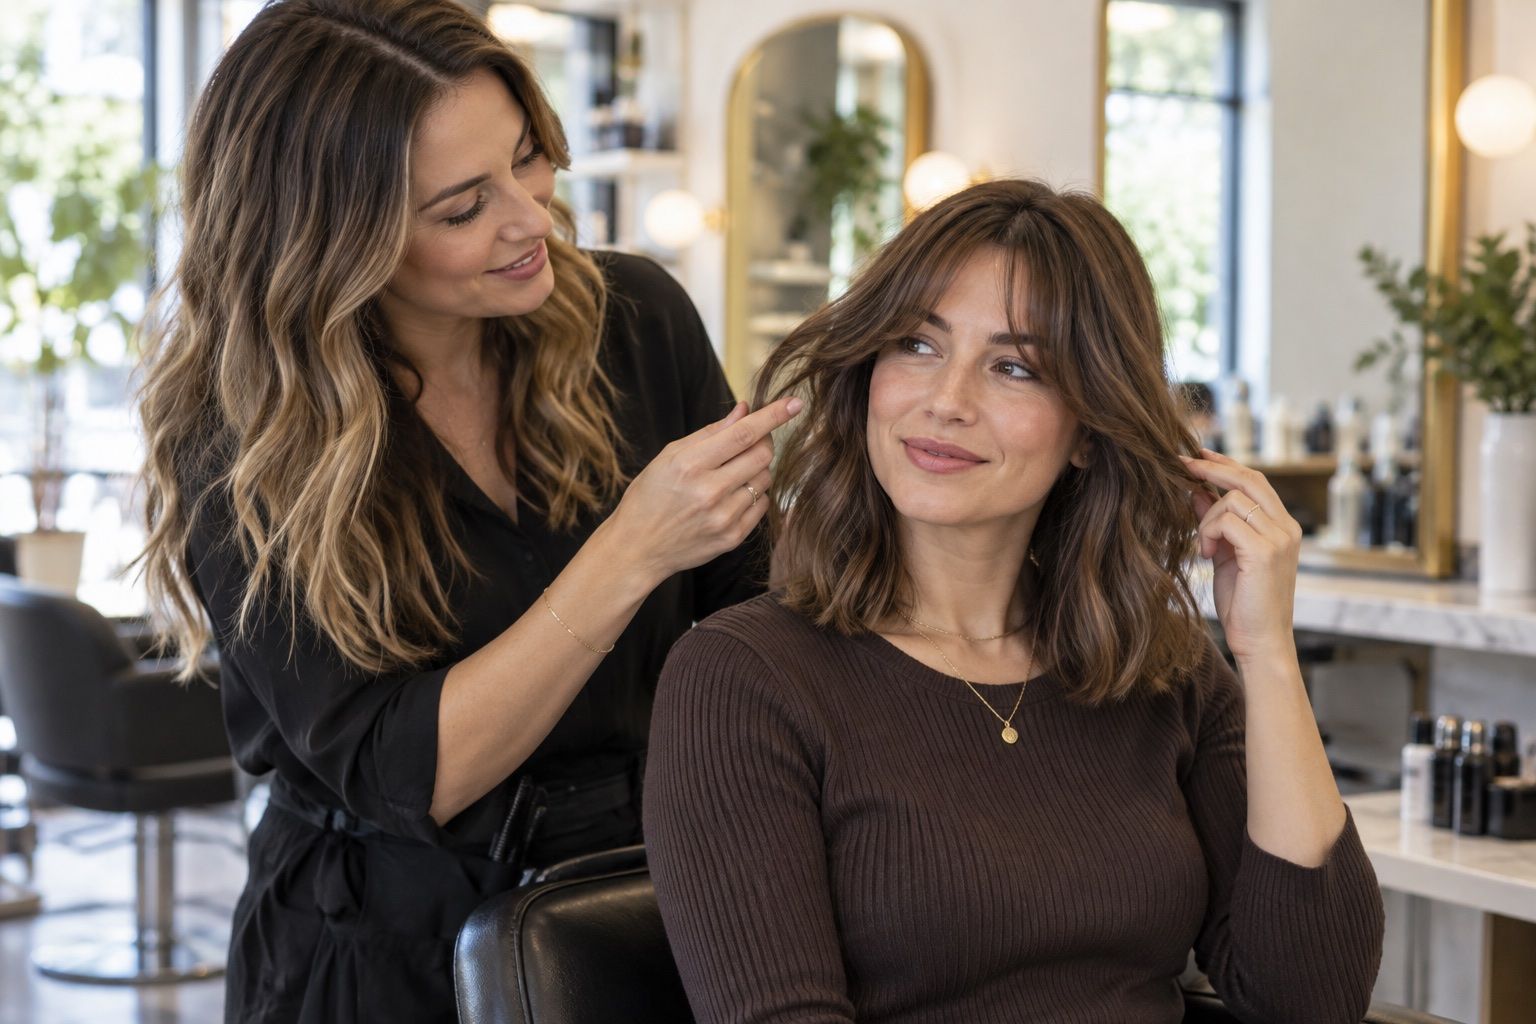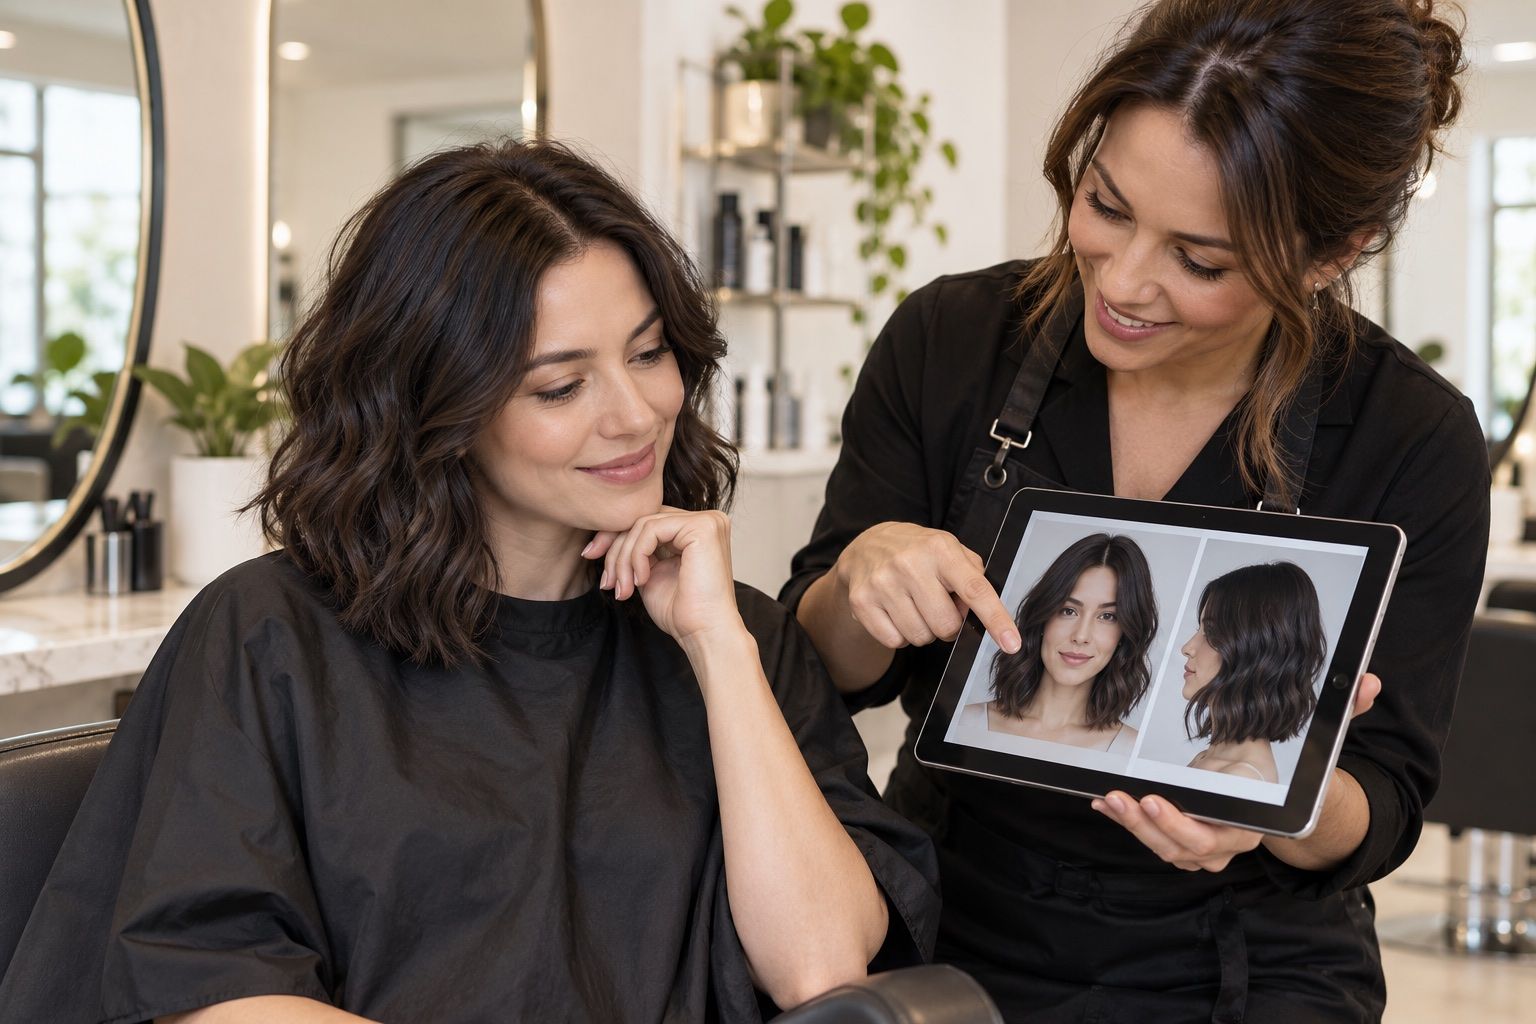
A careful haircut preview is most useful when it helps you compare a specific choice and prepare a practical salon conversation.
Choose a photograph that gives the preview a fair test
Use a recent, straight-on photo in even daylight, with the whole hairline, ears and shoulders visible. A tightly cropped selfie can hide how a cut sits at the jaw or neck; a strong overhead light can erase texture and cast shadows that an app may interpret as darker hair. Keep the camera near eye level and avoid portrait effects that blur the hair edge. The point is not to create a perfect photograph but to give every option the same useful starting point.
If you usually wear glasses, a part, or a fringe, decide whether the preview should include that detail. Move hair away from the face only when you want to compare a style with a clear hairline. Take two or three shots and choose the one with the most natural expression and least motion blur. Save the original so you can return to it after trying several styles; changing the photo between options makes comparison unreliable.
Decide what you want to learn
Before opening a style menu, name the uncertainty. You may be deciding between shoulder length and a bob, checking whether bangs would feel too prominent, or wondering how layers could change the outline. A focused question helps you notice a meaningful difference instead of tapping through dozens of unrelated looks. If you are curious about several things, make a short list and compare them separately.
Describe the change in visible terms: “ends at the collarbone,” “soft fringe that parts,” or “shorter around the face.” A label such as “modern” or “flattering” can mean different things to different people. Concrete details make it easier to spot where the preview matches your idea and where it does not. They also give a stylist language for discussing a real cut without relying on a screen image alone.
Compare one variable at a time
Keep the photo, screen brightness and viewing distance steady. First compare length while keeping the part and texture similar. Then compare fringe shape, and only after that consider layers or a different silhouette. When two previews change length, volume, color and texture together, it becomes difficult to tell which change you like. A simple side-by-side set of three options often teaches more than a gallery of twenty.
Use consistent names when saving results, such as “collarbone length, no fringe” or “chin bob, side part.” Place the options next to each other and look at the outline, not only the face. Notice where the ends fall, how the sides frame the cheek and whether the volume seems balanced with the neck and shoulders. If one version is compelling for a different reason, make a separate comparison rather than treating it as a direct length test.
Read the hairline and edges carefully
Virtual overlays often look convincing at the center and less convincing near the temples, ears or nape. Zoom in on the transition from your actual hair to the simulated shape. Ask whether a fringe begins at a believable point, whether side pieces connect naturally, and whether a short cut appears to respect the visible hairline. A soft edge can be easier to interpret than a dramatic style that covers the entire forehead.
Look at the perimeter around the shoulders as well. A long style may appear to continue behind clothing in a way that is hard to achieve from your current length. Short layers may be drawn with a crisp edge even though real hair moves and separates. Treat these areas as clues about what you need to ask, not as proof that the tool has modeled every strand correctly.
Account for texture and styling
A photograph captures hair as it was styled that day. It may not represent how your hair behaves after washing, in humid weather, or when you let it dry naturally. Curly and coily patterns can appear longer when stretched and shorter when they spring back; a straight overlay cannot reliably show that change. Fine strands can look fuller under strong lighting, while dense hair may be compressed by a close-fitting style.
Think about the effort needed to reproduce the finish. Smooth ends, defined curls, a precise part and lifted roots may require different tools, products or techniques. A preview usually emphasizes the final silhouette rather than showing the steps that maintain it. Write down whether you would be willing to style the look most mornings, occasionally, or only for a special event. That answer matters as much as the shape on the screen.
Turn a promising image into a useful reference
Save the image with a note about what you want to keep and what may be artificial. For example: “I like the cheekbone-length pieces; keep my natural curl pattern and do not thin the ends.” A short note prevents the image from being mistaken for a precise instruction to reproduce every pixel. If the app has changed your hairline or face shape, mention that too.
Bring more than one angle when possible: a front view, a side view of your current length, and a reference showing the back outline you prefer. The app may only provide a frontal composite, so pair it with a real haircut reference if the nape or layers are important. A stylist can then explain which details are workable with your current hair and which would need a different cut or daily styling.
Know what the preview cannot decide
A digital mock-up does not feel the weight of your hair, inspect its growth pattern, or test how it moves when you turn your head. It also cannot know your schedule, comfort with maintenance, workplace expectations or tolerance for frequent trims unless you evaluate those things yourself. A style can look appealing in a still image and feel inconvenient during exercise, sleep or a windy commute.
Use the result to narrow choices, then get advice from a qualified stylist who can examine your hair in person. Ask about the shortest realistic length, how the shape will grow out, what routine supports it and what happens if you air-dry. If the answers do not fit your life, choose a less dramatic version or save the idea for later. A good preview improves the conversation; it does not replace it.
Revisit the comparison later
Take a break before deciding. After the first reaction fades, ask which shape still interests you and what specific feature you prefer. If the answer is only that one image looked more polished, repeat the comparison with a neutral photo or look for a real haircut example. A short pause reduces the pull of novelty.
Keep the original image with your notes so you can compare it with the saved preview later. If you return to the tool, use the same photo and screen settings. The result is still an approximation, but a consistent record helps you remember what changed and makes your salon conversation clearer.